Google Cloud Platform (GCP) provides a suite of cloud services, including computing, storage, and data analytics, designed to support various application needs. To leverage these services, you first need to create a Google Cloud project. This article provides a step-by-step guide on how to set up a Google Cloud project.

Step 1: Sign In to Google Cloud Console
- Access Google Cloud Console
- Navigate to the Google Cloud Console. If you’re not signed in, you will be prompted to log in with your Google account.
- Sign In
- Enter your Google account credentials. If you don’t have a Google account, create one by following the on-screen instructions.
Step 2: Create a New Project
- Open the Project Selector
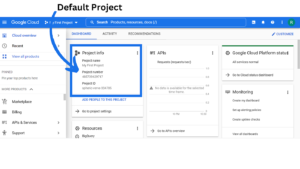
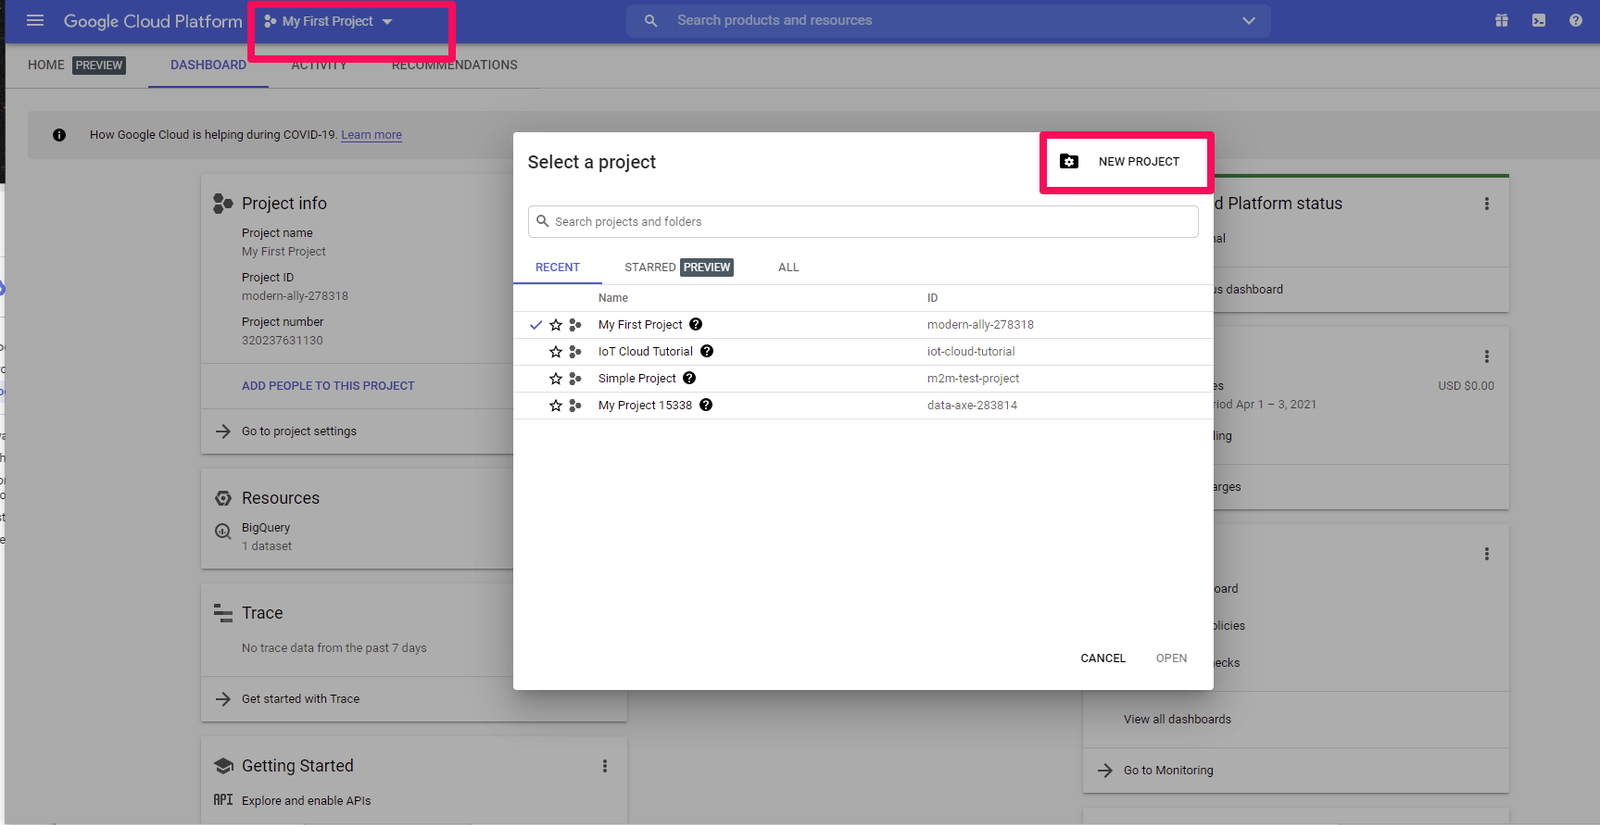
- Once signed in, you will be directed to the Google Cloud Console dashboard. Click on the project drop-down menu at the top of the page, next to the Google Cloud logo. This menu displays your current project and provides options to manage existing projects or create a new one.
- Initiate Project Creation
- Click on New Project. This action opens a dialog box where you can configure your new project.
- Configure Project Details
- Project Name: Enter a descriptive name for your project. This name will help you identify the project in the future.
- Billing Account: If you have a billing account set up, select it from the drop-down menu. If you haven’t set up a billing account, you’ll need to do so to use certain services.
- Location: Choose the organization or location for the project. If you are not part of an organization, select No organization.
- Create the Project
- After entering the required details, click on Create. Google Cloud will start setting up your project. This process may take a few moments.
Step 3: Configure Project Settings
- Access Project Dashboard
- Once the project is created, you will be redirected to the project dashboard. Here, you can view project details, manage settings, and access various Google Cloud services.
- Enable APIs
- To use Google Cloud services, you need to enable APIs. Go to the APIs & Services section from the left-hand navigation menu. Click on Library to access available APIs. Search for the APIs you need, such as Google Maps API or Cloud Storage API, and click Enable.
- Set Up Billing
- For most Google Cloud services, you must have a billing account. To set up billing, navigate to Billing in the navigation menu. Follow the instructions to link a billing account to your project. You may need to provide payment information and set up billing preferences.
Step 4: Manage Project Resources
- Create and Manage Resources
- With your project set up, you can start creating and managing resources. For example, you can create virtual machines, databases, or storage buckets. Use the Google Cloud Console to access and configure these resources.
- Set Up IAM Roles
- To control access to your project, you can set up Identity and Access Management (IAM) roles. Go to IAM & Admin in the navigation menu and configure roles and permissions for different users and groups.
- Monitor Usage and Performance
- Use the Monitoring and Logging tools available in the console to track the performance and usage of your resources. This will help you manage costs and optimize resource utilization.
Step 5: Explore and Use Google Cloud Services
- Explore the Console
- Familiarize yourself with the Google Cloud Console and its features. Explore services like Compute Engine, App Engine, and BigQuery to understand what’s available and how to use it.
- Refer to Documentation
- Google Cloud provides extensive documentation and tutorials. Access the Google Cloud Documentation to learn more about the services you’re interested in and get started with implementation.
Conclusion
Creating a Google Cloud project is the first step towards utilizing the powerful tools and services offered by Google Cloud Platform. By following the steps outlined in this guide, you’ll be able to set up your project, enable necessary APIs, configure billing, and start managing your cloud resources effectively.
With your project in place, you’re ready to dive into Google Cloud services and leverage them to build and deploy applications, manage data, and more.


