Creating custom Google Maps UI components with JavaScript can greatly enhance the functionality and user experience of your web application. By customizing these components, you can tailor the map interface to better fit your needs and provide a more intuitive experience for your users. In this guide, we’ll walk through the process of creating and integrating custom UI elements in Google Maps.
What Are Custom Google Maps UI Components?
These components can include custom buttons, overlays, and controls that provide additional functionality or improved aesthetics for your map application.

1. Setting Up Your Google Maps API
To start, you need to set up your project with the Google Maps JavaScript API. Ensure you have an API key and include the necessary script in your HTML file. This step is essential for loading Google Maps and adding custom components.
2. Initializing the Map
Next, initialize the map in your JavaScript file. You’ll need to specify the map container element and set the initial properties like centre coordinates and zoom level. This setup is the foundation for adding your custom UI components.
3. Creating Custom Buttons
One of the simplest custom components is a button. You can create custom buttons for actions like centring the map or toggling layers. By adding event listeners, you can define the behaviour when users click these buttons.
4. Adding Custom Controls
Google Maps allows you to add custom controls to the map. Controls are typically interactive elements like zoom buttons or map-type selectors. You can create these elements and position them on the map to provide users with intuitive controls.
5. Implementing Custom Overlays
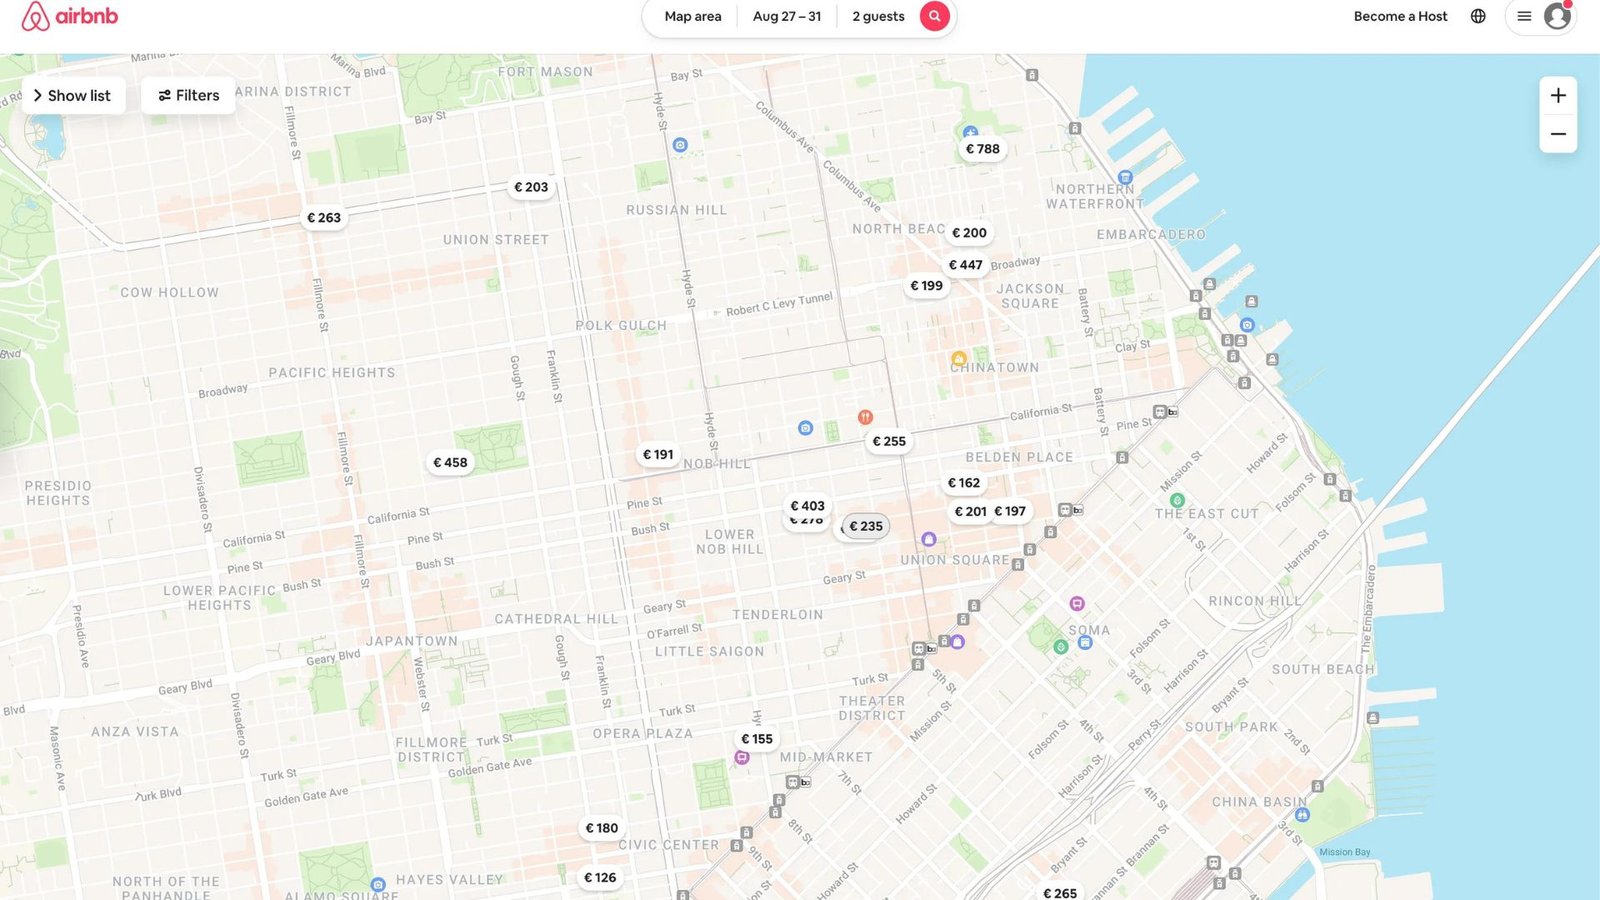
Custom overlays are useful for displaying additional information on the map. These overlays can include custom markers, info windows, or even complex data visualizations. By implementing custom overlays, you can present data in a visually appealing and informative way.
6. Customizing the Map Style
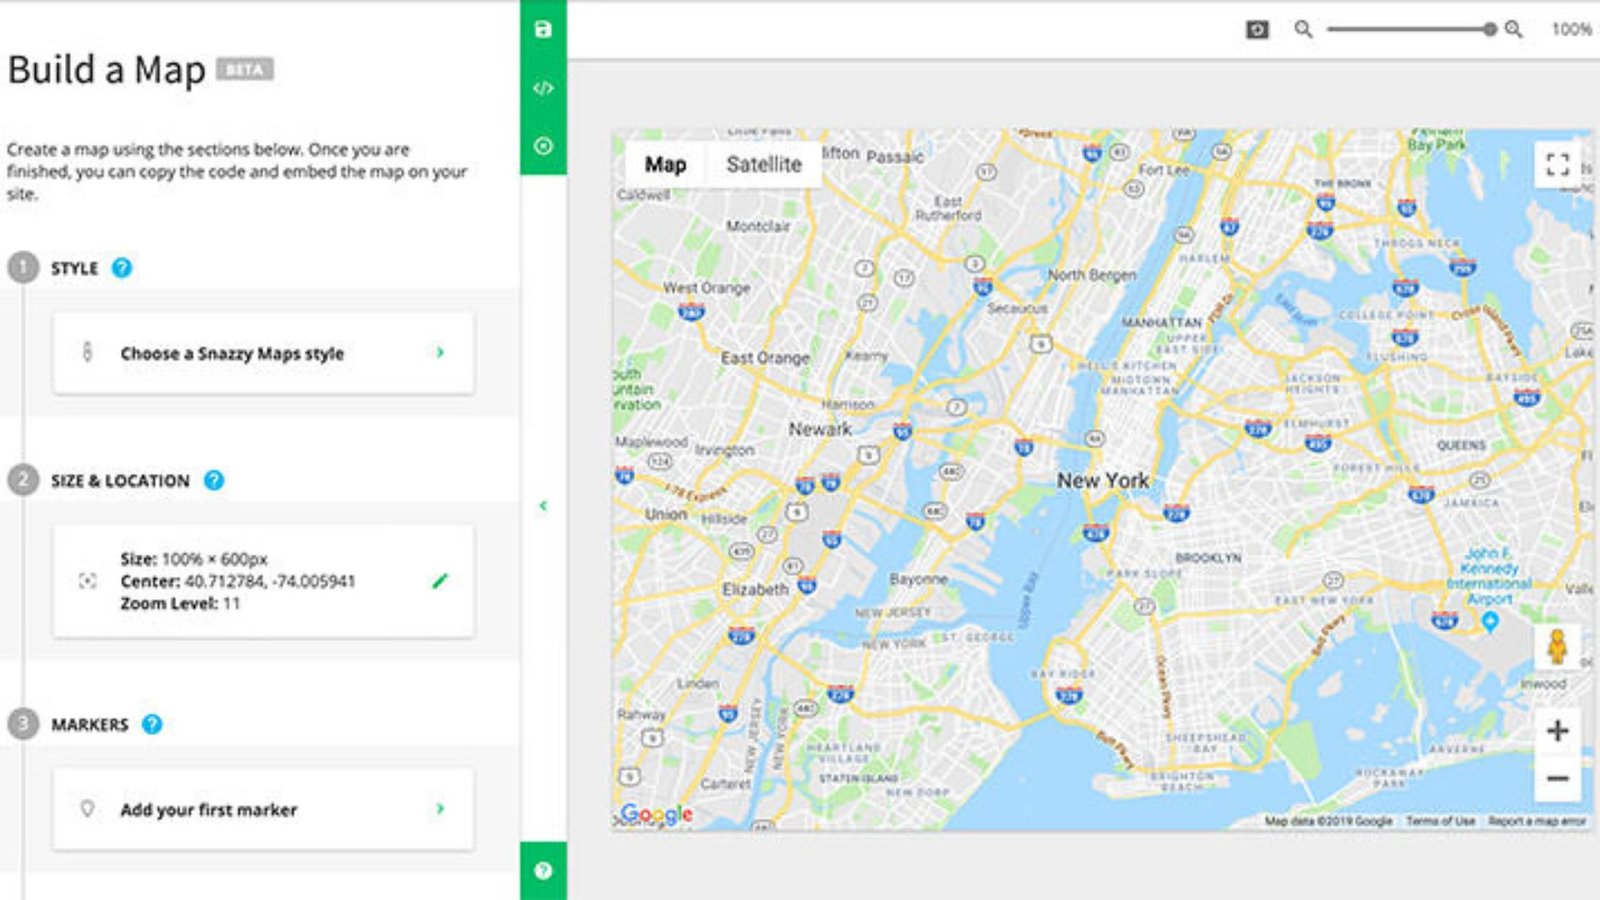
To make your map stand out, consider customizing its style. Google Maps provides options to change the map’s appearance through styling options. You can adjust colours, visibility of elements, and overall themes to match your application’s design.
7. Adding Interactive Elements
Interactive elements like pop-ups and tooltips can enhance user engagement. By adding these elements to your custom components, you can provide users with more information and interactive functionality directly on the map.
8. Handling User Input
Custom components can also handle user input, such as drawing tools or search boxes. Implementing these features allows users to interact with the map in more meaningful ways, like marking locations or searching for places.
9. Enhancing User Experience
Improving user experience is key to a successful map application. Custom components should be intuitive and responsive. Consider adding animations or transitions to make interactions smoother and more enjoyable.
10. Using Third-Party Libraries
There are various third-party libraries available that can help you create custom Google Maps UI components.
11. Ensuring Mobile Compatibility
Ensure that your custom components are compatible with mobile devices. Responsive design is crucial for providing a consistent user experience across different screen sizes. Test your components on various devices to ensure they function correctly.
12. Implementing Custom Icons
Custom icons can make your map markers more visually appealing and informative. Design custom icons that represent different types of locations or data points, and integrate them into your map.
13. Integrating Data Layers
Data layers can provide additional context to your map. You can add layers for traffic, weather, or other relevant data.


