Google Maps provides a powerful platform for creating custom maps tailored to your specific needs. By integrating your own data into Google Maps, you can visualize information, share insights, and enhance your geographic understanding. This guide explores how to create custom Google Maps using your own data, offering a step-by-step approach to harnessing the full potential of this versatile tool.
Accessing Google My Maps
To begin creating a custom Google Map, you’ll need to use Google My Maps, a feature that allows users to build personalized maps with custom layers and data. Start by visiting the Google My Maps website and signing in with your Google account. Click on “Create a New Map” to start the process. This interface will be the workspace where you’ll input and manage your data.
Importing Your Data
Google My Maps allows you to import various data formats, such as spreadsheets (CSV, XLSX) and KML/KMZ files. To import data, click on the “Import” button located under the layer panel. Choose your file, and follow the prompts to upload it. Your data will be plot on the map, creating points, lines, or shapes based on the information provided. Ensure your data is organized with clear labels and coordinates for accurate mapping.
Customizing Map Layers
Once your data is imported, you can customize the map by adding and modifying layers. Layers are used to categorize and differentiate various sets of data. For example, you might have separate layers for different types of locations, such as restaurants, landmarks, or historical sites. To add a new layer, click on the “Add Layer” button, and use the options to customize colors, icons, and labels according to your preferences.
Adding Markers and Annotations
To further personalize your map, you can manually add markers and annotations. Click on the “Add Marker” tool, and place markers at specific locations on the map. You can enter descriptive text, upload images, or link to additional information. Annotations help provide context and detail, making your map more informative and engaging for viewers.
Designing Map Aesthetics
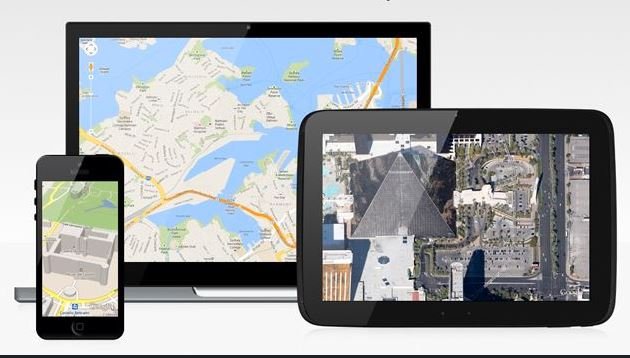
Google My Maps offers various design options to enhance the visual appeal of your custom map. You can choose different base map styles, such as satellite imagery, terrain, or traditional map views. Additionally, you can adjust marker icons, colors, and labels to match your design preferences. These customization options allow you to create a map that aligns with your aesthetic vision and effectively communicates your data.
Sharing and Embedding Your Map
After creating and customizing your map, you can share it with others or embed it on a website. Click on the “Share” button to get a shareable link or invite specific people to view or edit the map. For embedding, click on the “Embed on my site” option, and copy the HTML code provided. This code can be insert into your website to display the custom map directly on your pages.
Updating and Maintaining Your Map
Custom Google Maps are dynamic and can be updated as needed. You can return to Google My Maps to edit or add new data, modify layers, and make other adjustments. Regularly updating your map ensures that it remains accurate and relevant, especially if it is use for ongoing projects or public information.
Conclusion
Creating custom Google Maps with your own data offers a powerful way to visualize and share geographic information. By utilizing Google My Maps, importing data, customizing layers, and designing map aesthetics, you can craft a personalized map that meets your specific needs. Whether for personal use, business, or public sharing, these custom maps provide valuable insights and enhance your ability to convey information effectively.


