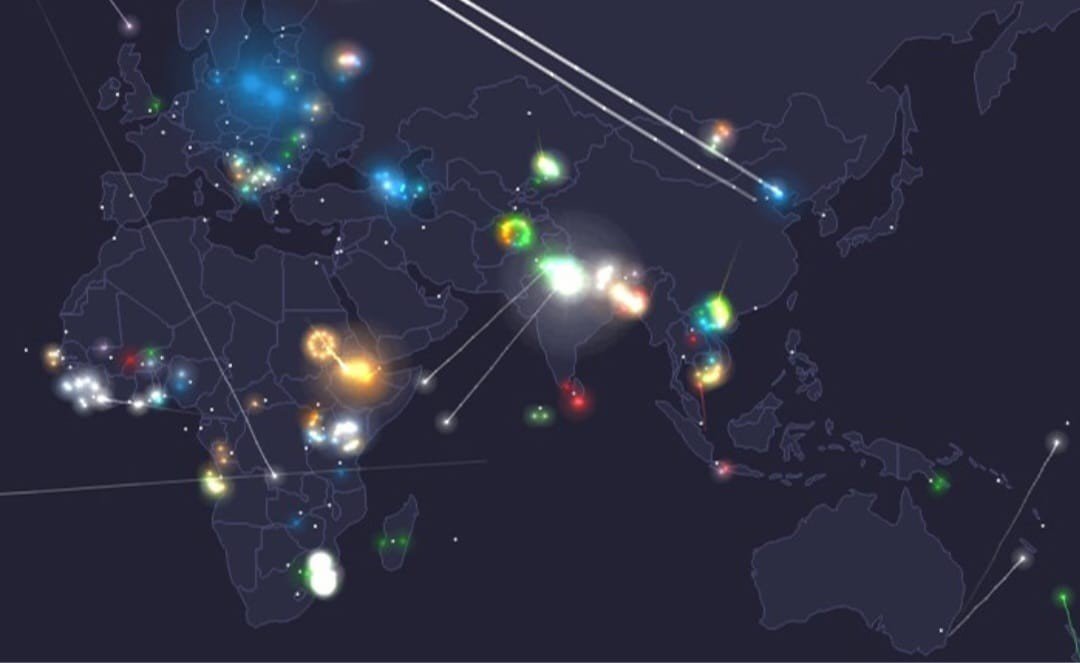
Interactive maps are a powerful tool for enhancing user experiences on websites and applications. With the Google Maps JavaScript API, you can create dynamic and engaging maps tailored to your needs. This guide will walk you through the process of creating interactive maps using Google Maps and JavaScript, including adding markers, overlays, and custom controls.
1. Set Up Your Google Maps JavaScript API Key
Before you begin, you’ll need to obtain a Google Maps API key:
- Create a Google Cloud Project: Go to the Google Cloud Console and create a new project.
- Enable Google Maps JavaScript API: In the API Library, find and enable the “Google Maps JavaScript API.”
- Generate an API Key: Navigate to the Credentials section and create an API key. This key is required for accessing Google Maps services.
2. Include Google Maps JavaScript API in Your Project
To get started, include the Google Maps JavaScript API in your HTML file:
html
<html>
<head>
<title>Interactive Google Maps</title>
<script src="https://maps.googleapis.com/maps/api/js?key=YOUR_API_KEY"></script>
<style>
#map {
height: 500px;
width: 100%;
}
</style>
</head>
<body>
<div id="map"></div>
<script>
// JavaScript code to create interactive maps
</script>
</body>
</html>
Replace YOUR_API_KEY with your actual Google Maps API key.

3. Initialize the Map
First, initialize the map with basic settings:
javascript
function initMap() {

var mapOptions = {

center: {lat: -34.397, lng: 150.644},

zoom: 8,

mapTypeId: google.maps.MapTypeId.ROADMAP

};}
This code sets up a basic map centered at a specific latitude and longitude.
4. Add Custom Markers
Markers are a great way to highlight specific locations on the map:
javascript
function initMap() {

var mapOptions = {

center: {lat: -34.397, lng: 150.644},

zoom: 8

};position: {lat: –34.397, lng: 150.644},
map: map,
title: ‘Hello World!’
});
}
This example adds a marker to the map with a title that appears on hover.
5. Add Info Windows
Info windows provide additional information when users click on a marker:
javascript
function initMap() {

var mapOptions = {

center: {lat: -34.397, lng: 150.644},

zoom: 8

};position: {lat: –34.397, lng: 150.644},
map: map,
title: ‘Click me!’
});
content: ‘This is an info window’
});
infowindow.open(map, marker);
});
}
Clicking on the marker will display an info window with custom content.
6. Implement Custom Overlays
Overlays such as polygons or polylines can add contextual information to your map:
javascript
function initMap() {

var mapOptions = {

center: {lat: -34.397, lng: 150.644},

zoom: 8

};{lat: –34.397, lng: 150.644},
{lat: –34.497, lng: 150.744},
{lat: –34.597, lng: 150.844}
];
paths: polygonCoords,
strokeColor: ‘#FF0000’,
strokeOpacity: 0.8,
strokeWeight: 2,
fillColor: ‘#FF0000’,
fillOpacity: 0.35
});
}
This code creates a red polygon overlay on the map.
7. Add Custom Controls
Custom controls can enhance user interaction with your map:
javascript
function initMap() {

var mapOptions = {

center: {lat: -34.397, lng: 150.644},

zoom: 8

};
var controlUI = document.createElement(‘button’);
controlUI.textContent = ‘Click Me’;
controlUI.classList.add(‘custom-map-control’);
controlDiv.appendChild(controlUI);
alert(‘Custom control clicked!’);
});
}
Add CSS to style your custom control:
css
.custom-map-control {

background-color: #fff;

border: 2px solid #fff;

border-radius: 3px;

box-shadow: 0 2px 6px rgba(0,0,0,0.3);

cursor: pointer;

margin: 10px;

padding: 5px;

}
8. Utilize Directions Service
The Directions Service provides routes between locations:
javascript
function initMap() {

var mapOptions = {

center: {lat: -34.397, lng: 150.644},

zoom: 8

};
var directionsService = new google.maps.DirectionsService();
var directionsRenderer = new google.maps.DirectionsRenderer();
directionsRenderer.setMap(map);
origin: ‘Sydney, NSW’,
destination: ‘Melbourne, VIC’,
travelMode: ‘DRIVING’
};
if (status === ‘OK’) {
directionsRenderer.setDirections(result);
}
});
}
9. Optimize Map Performance
For better performance:
- Load Data Asynchronously: Use asynchronous techniques to load map data in the background.
- Limit Map Features: Avoid adding too many markers or overlays that can slow down the map.
- Optimize Rendering: Use efficient styles and data formats to improve rendering speed.
10. Test and Iterate
- Test Across Devices: Ensure your interactive maps work smoothly on various devices and browsers.
- Collect User Feedback: Gather feedback to understand how users interact with your maps and make necessary improvements.
Conclusion
Creating interactive maps with the Google Maps JavaScript API allows you to enhance user engagement with dynamic and customized features. By adding markers, info windows, overlays, and custom controls, you can create maps that provide valuable information and interactive experiences. Follow this guide to implement these features and tailor your maps to meet your specific needs.


