If you want to enhance your web application with custom map features, creating Google Maps overlays with JavaScript is a powerful tool. These overlays allow you to add custom markers, shapes, and images to your map, providing a rich and interactive experience for users. In this article, we’ll share tips on how to create effective Google Maps overlays with JavaScript.
Understanding Google Maps Overlays
Google Maps overlays are objects on the map that enhance its functionality and provide additional information. Overlays can include markers, polygons, polylines, and images. Understanding how to effectively use these overlays will help you create more dynamic and interactive maps.
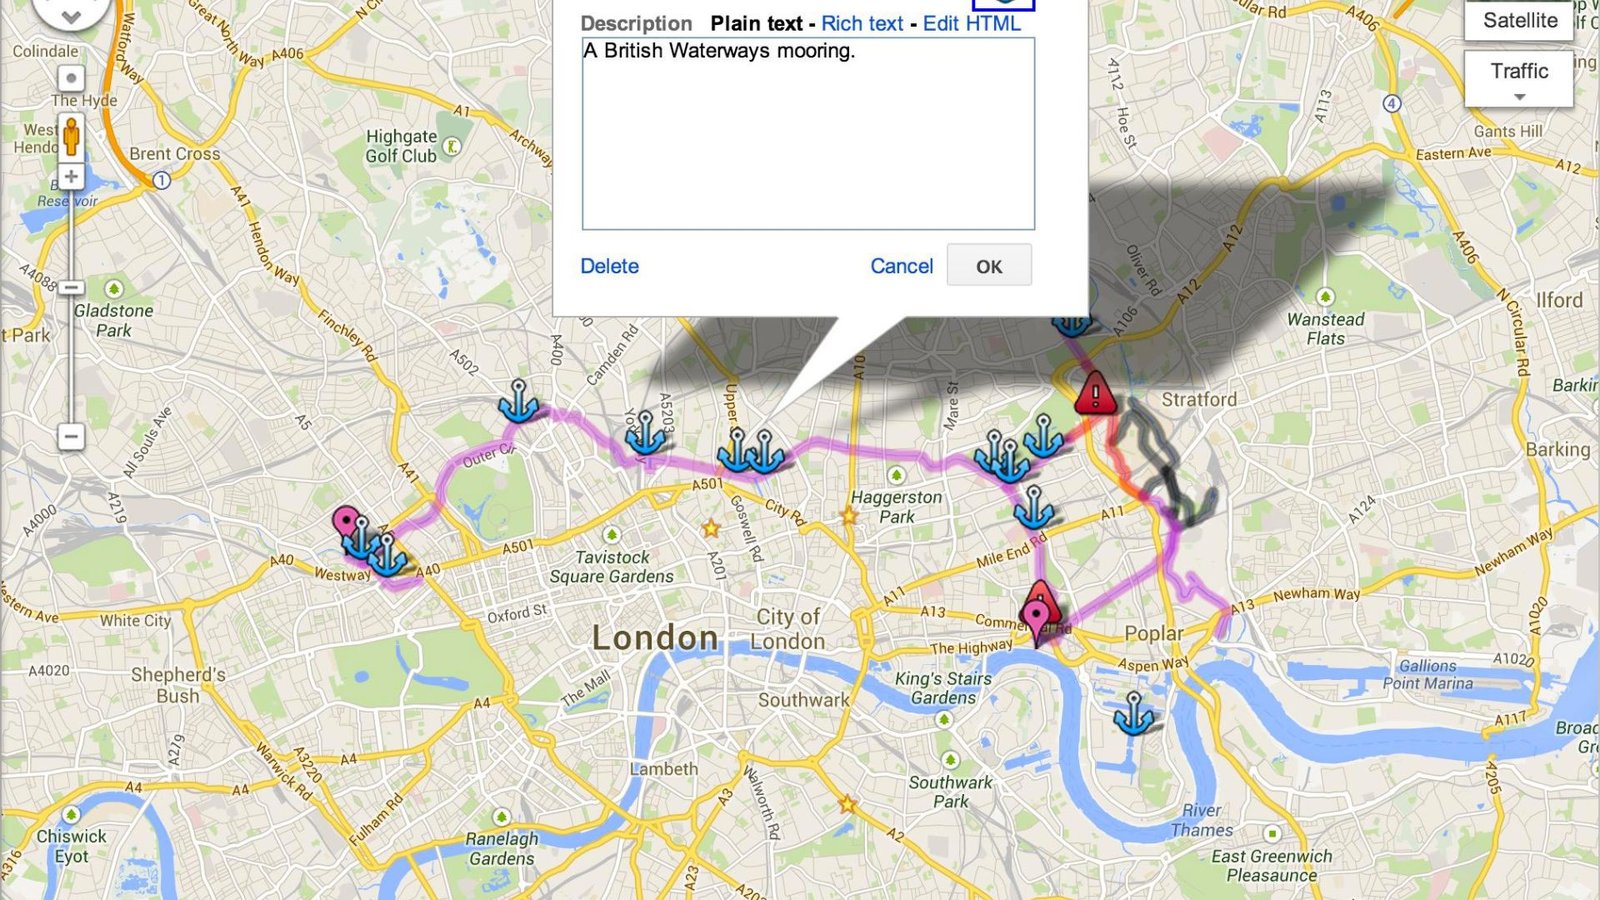
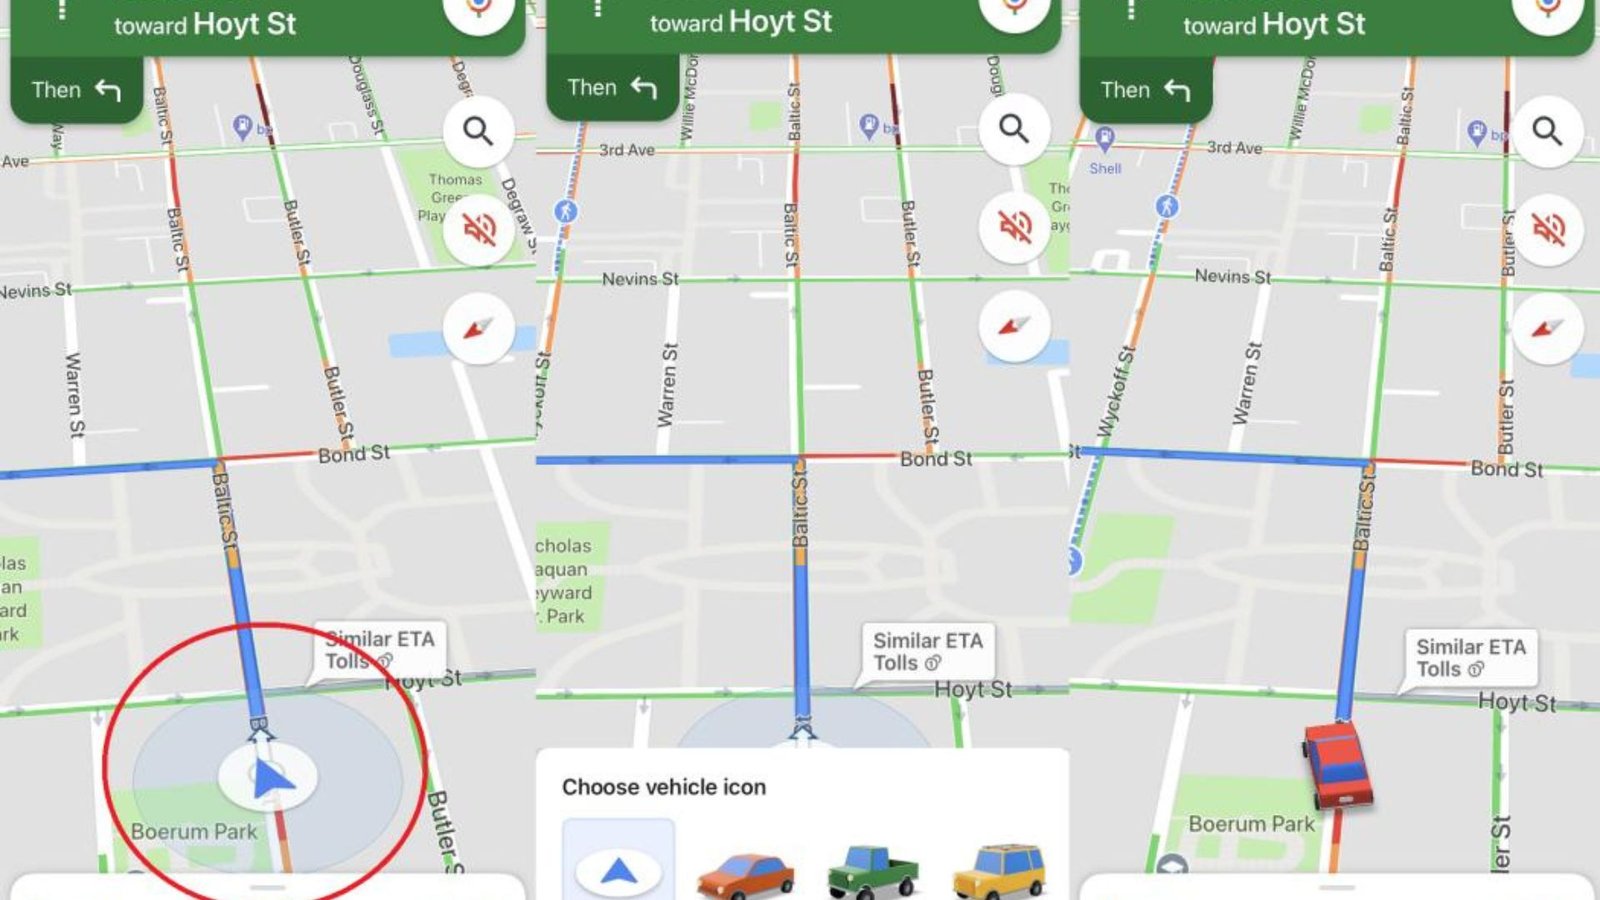
Adding Custom Markers
Custom markers are a great way to highlight specific locations on your map. You can use different icons to represent various points of interest, such as restaurants, landmarks, or stores. To add a custom marker, define its position and icon, then add it to the map.
Using Polylines for Routes
Polylines are useful for showing routes or paths on your map. You can use polylines to represent roads, hiking trails, or any other linear feature. Define the path’s coordinates and style, then add the polyline to the map to create a visual route.
Creating Polygons for Areas
Polygons are ideal for highlighting specific areas on your map, such as parks, neighbourhoods, or zones. To create a polygon, define its vertices and style, then add it to the map. This helps users easily identify and understand different regions on your map.
Overlaying Images with Ground Overlays
Ground overlays allow you to add images to your map, which can be useful for displaying custom graphics, such as logos or event layouts. Define the image’s bounds and URL, then add the ground overlay to the map. This adds a visual layer to your map that can convey additional information.
Using Info Windows for Additional Information
Info windows provide users with more details about a specific location or feature. You can attach an info window to a marker, polygon, or any other overlay. Define the content and position, then add it to the map. Info windows enhance user interaction by providing context and information.
Implementing Overlay Click Events
Overlay click events enable users to interact with your map. By adding event listeners to your overlays, you can perform actions such as displaying an info window or redirecting users to another page. Implementing click events makes your map more interactive and engaging.
Customizing Overlay Styles
Customizing overlay styles helps you match the look and feel of your map with your website’s design. You can adjust the colour, opacity, and thickness of polylines and polygons. For markers, you can use custom icons. Consistent styling enhances the visual appeal and usability of your map.
Optimizing Performance
Optimizing performance is crucial when working with multiple overlays. Large numbers of overlays can slow down your map, affecting user experience. Use clustering for markers, simplify complex shapes, and limit the number of overlays displayed at once to ensure smooth performance.
Using Heatmaps for Data Visualization
Heatmaps are useful for visualizing data density on your map. They show areas with high concentrations of data points, such as crime rates, traffic incidents, or customer locations. Adding a heatmap overlay can provide users with valuable insights at a glance.
Integrating External Data
Integrating external data allows you to dynamically update your overlays based on real-time information. You can fetch data from APIs or databases and use it to create or update overlays. This ensures your map remains current and relevant to users.
Animating Overlays
Animating overlays can add a dynamic element to your map. You can animate markers along a path, create moving shapes, or use transitions for overlay changes. Animation enhances the user experience by making the map more engaging and visually appealing.
Providing User Controls
Providing user controls allows users to interact with and customize the map overlays. Add buttons or sliders to enable users to show or hide specific overlays, change styles, or adjust settings. User controls give users more flexibility and control over their map experience.
Testing on Multiple Devices
Testing on multiple devices ensures your overlays work correctly on all platforms. Test your map on desktops, tablets, and smartphones to ensure a consistent experience.
Documenting Your Code
Documenting your code is essential for maintaining and updating your map. Include comments and instructions in your code for easy reference.
Conclusion
Creating Google Maps overlays with JavaScript can significantly enhance your web application’s functionality and user experience. By following these tips, you can effectively use custom markers, polylines, polygons, and other overlays to create dynamic and interactive maps. Remember to optimize performance, provide user controls, and test your overlays on multiple devices to ensure a seamless experience for all users.