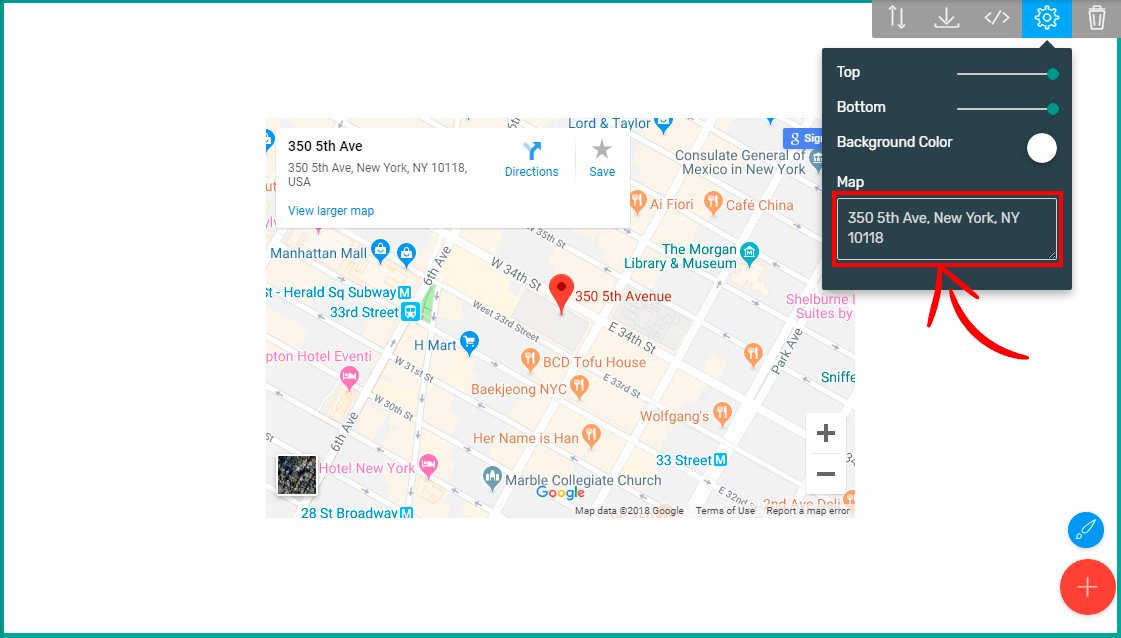
Integrating Google Maps into your website can significantly improve user experience by providing valuable location-based information and interactive features. Whether you’re looking to showcase your business location, offer directions, or enhance your site with custom maps, Google Maps offers powerful tools to meet your needs. Here’s a step-by-step guide to help you integrate Google Maps into your website smoothly.
1. Obtain a Google Maps API Key
The first step in integrating Google Maps is acquiring an API key. This key is essential for accessing Google Maps services and ensures proper tracking and billing of your usage. To get your API key:
- Create a Google Cloud Project: Start by visiting the Google Cloud Console and either create a new project or select an existing one.
- Enable Google Maps JavaScript API: Navigate to the API Library section within the console, search for the “Maps JavaScript API,” and enable it.
- Generate an API Key: In the Credentials section, create a new API key and copy it. This key will be used to authenticate your API requests.
2. Embed a Google Map Using HTML
For a straightforward integration, you can embed a Google Map directly into your webpage without any coding. Here’s how:
- Find Your Location: Go to Google Maps, search for the location you want to display, and click on the “Share” button.
- Get the Embed Code: Select the “Embed a map” option and copy the HTML iframe code provided. This code can be inserted into your webpage’s HTML to display the map.
This method is quick and easy but offers limited customization options compared to using the Google Maps JavaScript API.
3. Customize Google Maps with JavaScript API
For a more dynamic and customizable integration, you can use the Google Maps JavaScript API. This approach allows you to create interactive maps tailored to your specific needs. Here’s a brief overview:

- Include the API Script: Add the Google Maps JavaScript API script to your HTML file, including your API key in the URL. This script enables you to access Google Maps functionalities and features.
- Initialize Your Map: Once the script is loaded, you can initialize your map with various options such as zoom levels, center coordinates, and map styles.
- Add Custom Markers and Features: You can place custom markers, draw shapes, and add interactive elements to your map. This customization can enhance user interaction and provide specific information.
4. Explore Map Customization Options
Google Maps offers extensive customization options to tailor the map’s appearance and functionality:
- Map Styles: Use the Google Maps Styling Wizard to create custom map styles. This allows you to adjust colors, visibility of features, and more, ensuring the map fits seamlessly with your website’s design.
- Markers and Info Windows: Add custom markers to highlight specific locations and use info windows to display additional information when users click on a marker.
5. Optimize Performance and Responsiveness
To ensure a smooth user experience, consider the following:
- Optimize Load Times: Load the Google Maps API script asynchronously to avoid slowing down your webpage’s loading time.
- Ensure Mobile Compatibility: Test your map on various devices to ensure it displays correctly on mobile phones and tablets. Adjust the map’s size and features to enhance usability on smaller screens.
6. Test and Launch
Before going live, thoroughly test your Google Maps integration across different browsers and devices. Ensure all features work as expected and that the map is responsive and user-friendly.
Conclusion
Integrating Google Maps into your website provides a powerful tool for delivering location-based information and enhancing user interaction. By following these steps, you can embed a basic map or create a fully customized interactive experience tailored to your needs. For more advanced features and customization, refer to the Google Maps JavaScript API documentation.
With these guidelines, you’ll be equipped to enhance your website with dynamic and useful map features, improving both functionality and user experience.


