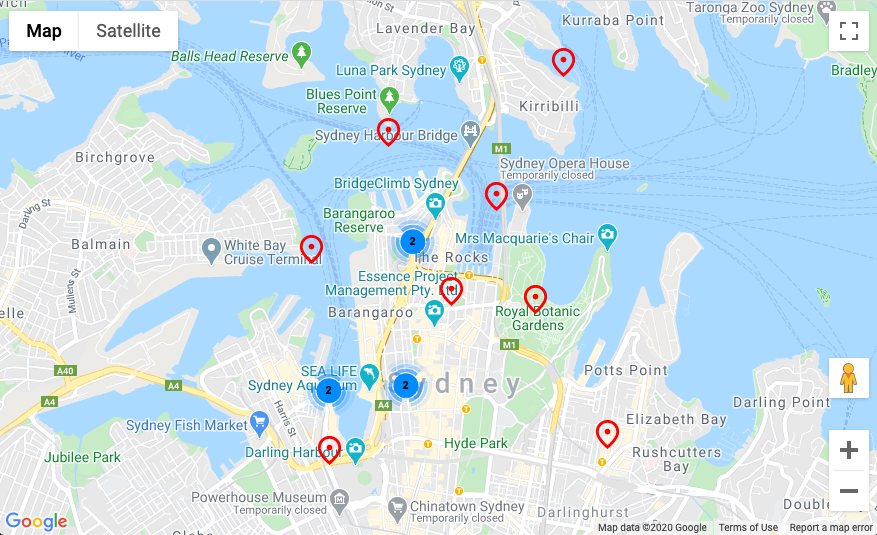
Incorporating location-based services into web applications can greatly enhance user experiences, providing personalized and context-aware features. The Google Maps JavaScript API offers a robust set of tools for implementing location-based services such as geocoding, reverse geocoding, and real-time tracking. This guide will walk you through how to leverage the Google Maps JavaScript API to integrate these services into your application.
1. Set Up Your Google Maps JavaScript API Key
Before you start, ensure you have a Google Maps API key:
- Create a Google Cloud Project: Visit the Google Cloud Console and create a new project if you haven’t already.
- Enable Google Maps JavaScript API: In the API Library, find and enable the “Google Maps JavaScript API.”
- Generate an API Key: Navigate to the Credentials section to create an API key. This key is required to authenticate your API requests.
2. Load the Google Maps JavaScript API
Include the Google Maps JavaScript API in your HTML file:
<html>
<head>
<title>Location-Based Services with Google Maps</title>
<script src="https://maps.googleapis.com/maps/api/js?key=YOUR_API_KEY"></script>
<style>
#map {
height: 500px;
width: 100%;
}
</style>
</head>
<body>
<div id="map"></div>
<script>
// JavaScript code to implement location-based services
</script>
</body>
</html>
Replace YOUR_API_KEY with your actual Google Maps API key.

3. Implement Geocoding
Geocoding converts addresses into geographic coordinates. Here’s how to use the Google Maps JavaScript API for geocoding:
function geocodeAddress(address) {

    var geocoder = new google.maps.Geocoder();
    geocoder.geocode({'address': address}, function(results, status) {

        if (status === 'OK') {

            var mapOptions = {

                center: results[0].geometry.location,

                zoom: 15

            };
            var map = new google.maps.Map(document.getElementById('map'), mapOptions);
            var marker = new google.maps.Marker({

                position: results[0].geometry.location,

                map: map,

                title: address

            });

        } else {

            alert('Geocode was not successful for the following reason: ' + status);

        }

    });

}
geocodeAddress('1600 Amphitheatre Parkway, Mountain View, CA');
This code geocodes an address and places a marker on the map at the corresponding location.
4. Implement Reverse Geocoding
Reverse geocoding converts geographic coordinates into a human-readable address:
function reverseGeocodeLocation(lat, lng) {

    var geocoder = new google.maps.Geocoder();

    var latlng = new google.maps.LatLng(lat, lng);
    geocoder.geocode({'latLng': latlng}, function(results, status) {

        if (status === 'OK') {

            if (results[0]) {

                alert('Address: ' + results[0].formatted_address);

            } else {

                alert('No results found');

            }

        } else {

            alert('Geocoder failed due to: ' + status);

        }

    });

}
reverseGeocodeLocation(-34.397, 150.644);
This code takes latitude and longitude coordinates and retrieves the nearest address.
5. Implement Real-Time Location Tracking
To track a user’s real-time location, use the Geolocation API combined with Google Maps:
function initMap() {

    var mapOptions = {

        zoom: 15

    };
    var map = new google.maps.Map(document.getElementById('map'), mapOptions);
    if (navigator.geolocation) {

        navigator.geolocation.getCurrentPosition(function(position) {

            var pos = {

                lat: position.coords.latitude,

                lng: position.coords.longitude

            };
            map.setCenter(pos);
            var marker = new google.maps.Marker({

                position: pos,

                map: map,

                title: 'You are here'

            });

        }, function() {

            handleLocationError(true, map.getCenter());

        });

    } else {

        handleLocationError(false, map.getCenter());

    }

}
function handleLocationError(browserHasGeolocation, pos) {

    alert(browserHasGeolocation ?

        'Error: The Geolocation service failed.' :

        'Error: Your browser doesn\'t support geolocation.');

}
This code centers the map on the user’s current location and places a marker.
6. Customize Location-Based Services
You can further customize your location-based services by:
- Adding Custom Markers: Use custom icons for markers to better represent different types of locations.
- Creating Custom Overlays: Add custom shapes or data layers to enhance your map’s functionality.
- Implementing Location-Based Alerts: Use proximity alerts to notify users when they are near specific locations.
7. Test and Optimize Your Integration
- Test Across Devices: Ensure that your location-based services work smoothly on various devices and browsers.
- Optimize for Performance: Minimize the number of API requests and optimize map rendering to ensure fast and responsive performance.
Conclusion
Integrating Google Maps JavaScript API for location-based services allows you to create dynamic and interactive web applications that leverage geographic data. By implementing geocoding, reverse geocoding, and real-time location tracking, you can provide users with personalized and context-aware experiences. Use the provided code snippets as a foundation and customize them to meet your specific needs.


