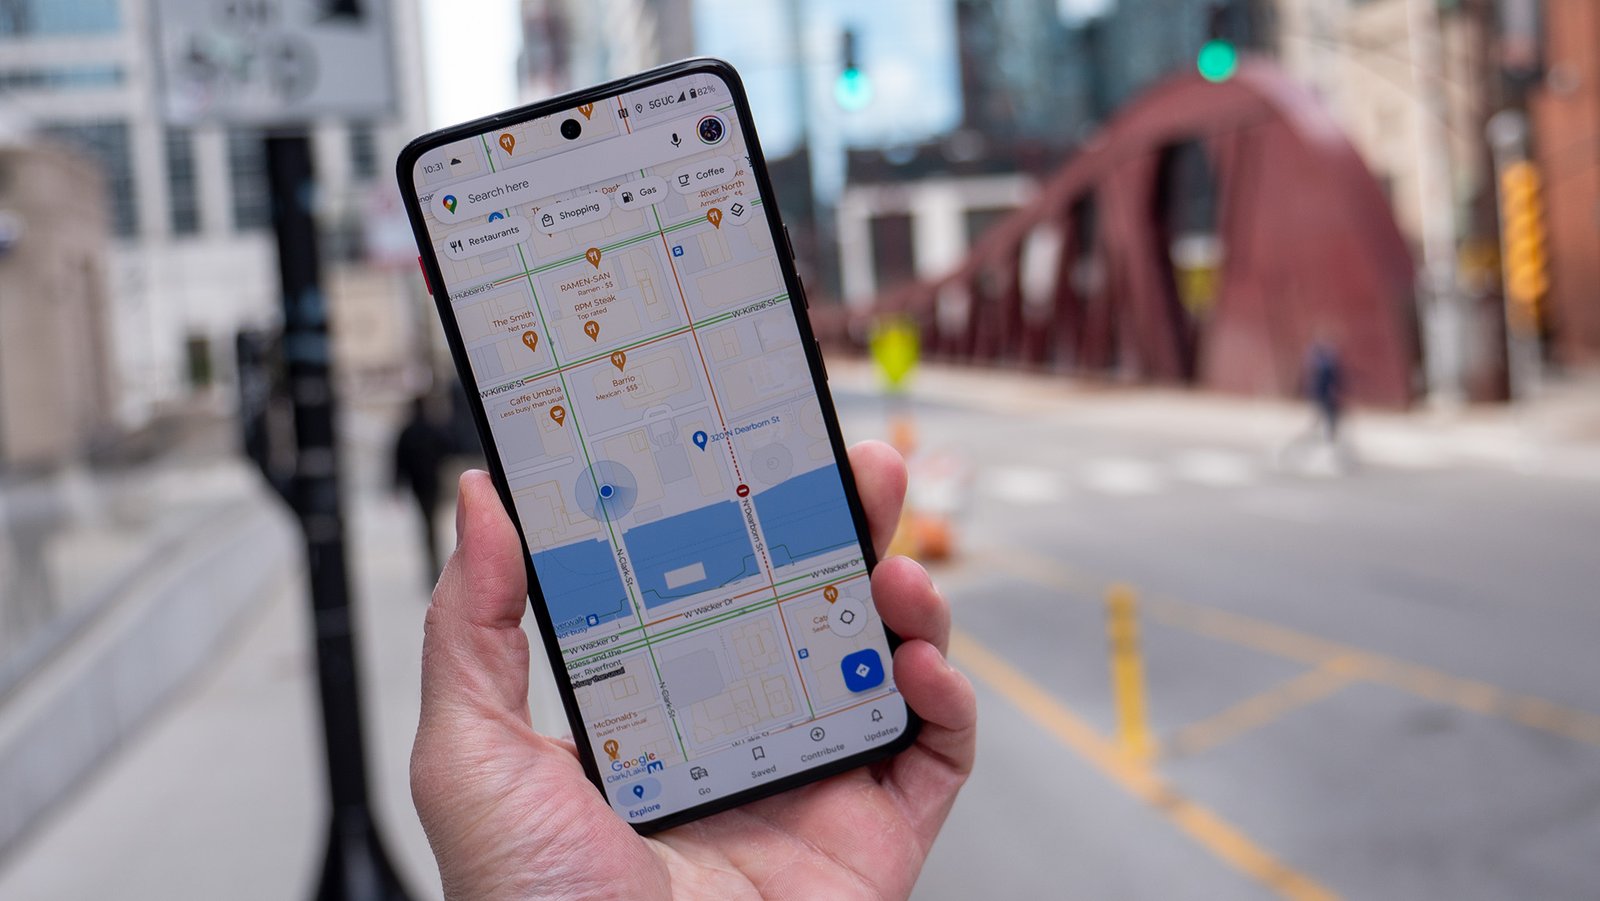
Creating custom maps using Google Maps and JavaScript allows you to tailor maps to specific needs, whether for a business, event, or personal project. With Google Maps JavaScript API, you can add personalized markers, overlays, and custom styles to enhance your mapping experience. Here’s a step-by-step guide to help you integrate Google Maps with JavaScript and create custom maps.
1. Set Up Your Google Maps JavaScript API Key
Before you can use Google Maps in your project, you’ll need to obtain an API key:
- Create a Google Cloud Project: Go to the Google Cloud Console and create a new project.
- Enable Google Maps JavaScript API: Navigate to the API Library, search for “Google Maps JavaScript API,” and enable it for your project.
- Generate an API Key: Go to the Credentials section and create an API key. This key will be used to authenticate requests to the Google Maps API.
2. Include Google Maps JavaScript API in Your Project
To start using Google Maps JavaScript API, include it in your HTML file:
<html>
<head>
<title>Custom Google Maps</title>
<script src="https://maps.googleapis.com/maps/api/js?key=YOUR_API_KEY"></script>
<style>
#map {
height: 500px;
width: 100%;
}
</style>
</head>
<body>
<div id="map"></div>
<script>
// JavaScript code to initialize and customize the map
</script>
</body>
</html>
Replace YOUR_API_KEY with the API key you obtained.
3. Initialize the Map
In the JavaScript section, initialize the map and set its properties:
function initMap() {

    var mapOptions = {

        center: {lat: -34.397, lng: 150.644},

        zoom: 8,

        mapTypeId: google.maps.MapTypeId.ROADMAP

    };
    var map = new google.maps.Map(document.getElementById('map'), mapOptions);

}
google.maps.event.addDomListener(window, 'load', initMap);
This code creates a map centered at the specified latitude and longitude with a zoom level of 8.
4. Add Custom Markers
To highlight specific locations on your map, add custom markers:
function initMap() {

    var mapOptions = {

        center: {lat: -34.397, lng: 150.644},

        zoom: 8

    };
    var map = new google.maps.Map(document.getElementById('map'), mapOptions);
    var marker = new google.maps.Marker({

        position: {lat: -34.397, lng: 150.644},

        map: map,

        title: 'Custom Marker'

    });

}
You can customize the marker by providing a different icon or additional options.
5. Add Custom Overlays
Custom overlays, such as polygons or polylines, can provide additional context:
function initMap() {

    var mapOptions = {

        center: {lat: -34.397, lng: 150.644},

        zoom: 8

    };
    var map = new google.maps.Map(document.getElementById('map'), mapOptions);
    var polygonCoords = [

        {lat: -34.397, lng: 150.644},

        {lat: -34.397, lng: 151.644},

        {lat: -33.397, lng: 151.644},

        {lat: -33.397, lng: 150.644}

    ];
    var polygon = new google.maps.Polygon({

        paths: polygonCoords,

        strokeColor: '#FF0000',

        strokeOpacity: 0.8,

        strokeWeight: 2,

        fillColor: '#FF0000',

        fillOpacity: 0.35

    });
    polygon.setMap(map);

}
This example creates a red polygon overlay on the map.
6. Customize Map Styles
Enhance the visual appearance of your map by applying custom styles:
function initMap() {

    var mapOptions = {

        center: {lat: -34.397, lng: 150.644},

        zoom: 8,

        styles: [

            {

                "elementType": "geometry",

                "stylers": [

                    {

                        "color": "#212121"

                    }

                ]

            },

            {

                "elementType": "labels.icon",

                "stylers": [

                    {

                        "visibility": "off"

                    }

                ]

            },

            {

                "elementType": "labels.text.fill",

                "stylers": [

                    {

                        "color": "#757575"

                    }

                ]

            },

            {

                "elementType": "labels.text.stroke",

                "stylers": [

                    {

                        "color": "#212121"

                    }

                ]

            }

        ]

    };
    var map = new google.maps.Map(document.getElementById('map'), mapOptions);

}
7. Add Event Listeners
To make your map interactive, add event listeners to handle user interactions:
function initMap() {

    var mapOptions = {

        center: {lat: -34.397, lng: 150.644},

        zoom: 8

    };
    var map = new google.maps.Map(document.getElementById('map'), mapOptions);
    google.maps.event.addListener(map, 'click', function(event) {

        alert('Lat: ' + event.latLng.lat() + ', Lng: ' + event.latLng.lng());

    });

}
This code shows an alert with the latitude and longitude when the map is clicked.
8. Optimize Performance
To ensure smooth performance, consider these tips:
- Minimize API Calls: Use the API efficiently to avoid excessive calls.
- Load Data Asynchronously: Load markers and other data in the background.
- Use Simplified Styles: Apply minimal styles to improve rendering speed.
Conclusion
Integrating Google Maps with JavaScript allows you to create highly customized and interactive maps tailored to your needs. By setting up the Google Maps API, initializing the map, adding markers and overlays, and customizing styles, you can build maps that enhance user experience and provide valuable functionality. Embrace the power of Google Maps and JavaScript to develop maps that serve your specific purposes and captivate your audience.


