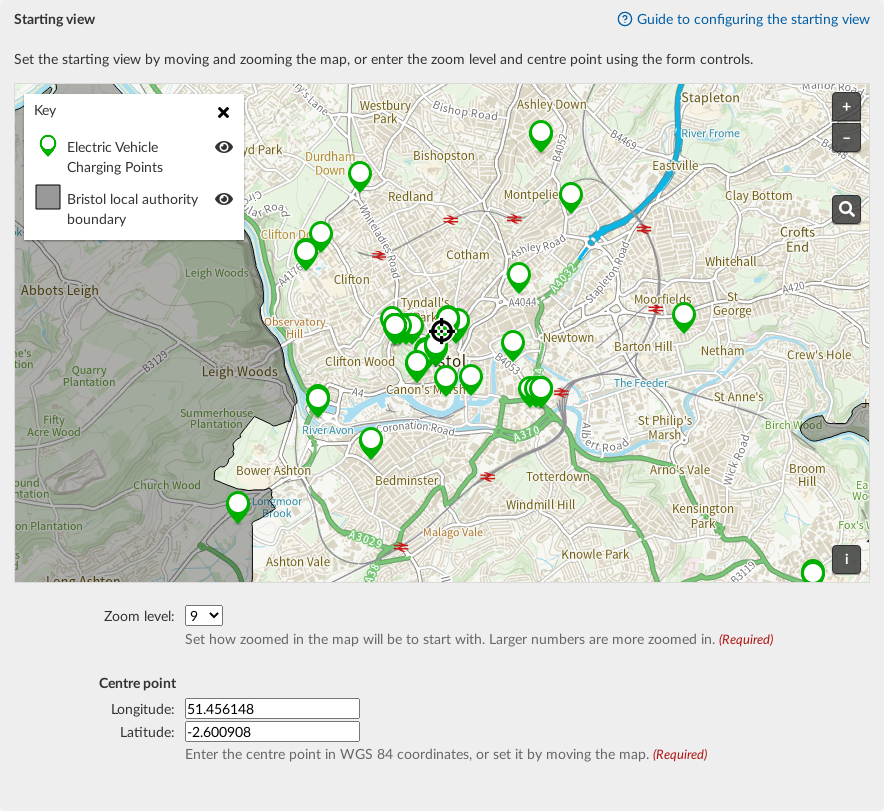
When initializing a Google Map in your web application, it’s important to set the initial view to a specific location and zoom level to provide the best user experience. This involves configuring the map’s center and zoom level when the map is first displayed. Here’s a detailed guide on how to set the initial view using Google Maps JavaScript API.

1. Setting Up Your HTML Structure
Begin by setting up your HTML structure to include a div element where the map will be rendered:
<html>
<head>
<title>Initial Map View</title>
<script src="https://maps.googleapis.com/maps/api/js?key=YOUR_API_KEY"></script>
<script>
function initMap() {
// Map initialization will go here
}
</script>
<style>
#map {
height: 500px;
width: 100%;
}
</style>
</head>
<body onload="initMap()">
<div id="map"></div>
</body>
</html>
Replace YOUR_API_KEY with your actual Google Maps API key.
2. Initializing the Map
In the initMap function, you will configure the map’s initial view by setting the latitude, longitude, and zoom level. Here’s a basic example:
function initMap() {

  // Define the coordinates for the initial view

  var initialLocation = { lat: -34.397, lng: 150.644 };
  // Create a new map instance and set its options

  var map = new google.maps.Map(document.getElementById('map'), {

    center: initialLocation, // Set the map's center

    zoom: 8 // Set the zoom level

  });

}
In this example, the map is centered on coordinates with latitude -34.397 and longitude 150.644, and the zoom level is set to 8.
3. Customizing the Initial View
You can customize the map view according to your requirements by adjusting the latitude, longitude, and zoom level:
3.1. Changing Latitude and Longitude
To change the map’s center, update the lat and lng properties of initialLocation:
var initialLocation = { lat: 37.7749, lng: -122.4194 }; // San Francisco, CA
3.2. Adjusting Zoom Level
Change the zoom property to control how zoomed in or out the map appears:
- Zoom Level 1-5: For a world view.
- Zoom Level 6-10: For a regional or country view.
- Zoom Level 11-15: For a city view.
- Zoom Level 16-20: For a street view or detailed view.
Example with a zoom level of 12:
var map = new google.maps.Map(document.getElementById('map'), {

  center: initialLocation,

  zoom: 12

});
4. Centering on Specific Locations
You might want to center the map on a specific landmark or location. Here’s how you can do it for several popular locations:
4.1. New York City, NY
var initialLocation = { lat: 40.7128, lng: -74.0060 };

var map = new google.maps.Map(document.getElementById('map'), {

  center: initialLocation,

  zoom: 10

});
4.2. Tokyo, Japan
var initialLocation = { lat: 35.6762, lng: 139.6503 };

var map = new google.maps.Map(document.getElementById('map'), {

  center: initialLocation,

  zoom: 12

});
5. Adding Markers at the Initial View
You can also add markers at the initial view’s location:
function initMap() {

  var initialLocation = { lat: 37.7749, lng: -122.4194 }; // San Francisco, CA
  var map = new google.maps.Map(document.getElementById('map'), {

    center: initialLocation,

    zoom: 12

  });
  var marker = new google.maps.Marker({

    position: initialLocation,

    map: map,

    title: 'San Francisco, CA'

  });

}
6. Using Custom Map Styles
To further customize the map’s appearance, you can apply custom styles:
var map = new google.maps.Map(document.getElementById('map'), {

  center: initialLocation,

  zoom: 12,

  styles: [

    { "elementType": "geometry", "stylers": [{ "color": "#212121" }] },

    { "elementType": "labels.icon", "stylers": [{ "visibility": "off" }] },

    { "elementType": "labels.text.fill", "stylers": [{ "color": "#757575" }] },

    { "elementType": "labels.text.stroke", "stylers": [{ "color": "#000000" }] },

    { "featureType": "administrative.land_parcel", "elementType": "labels.text.fill", "stylers": [{ "color": "#bdbdbd" }] }

  ]

});
Conclusion
Setting the initial view of a Google Map is a fundamental aspect of map integration. By defining the latitude, longitude, and zoom level, you control the starting point and level of detail displayed to users. Customizing these parameters allows you to tailor the map to specific locations and requirements, enhancing the user experience.


